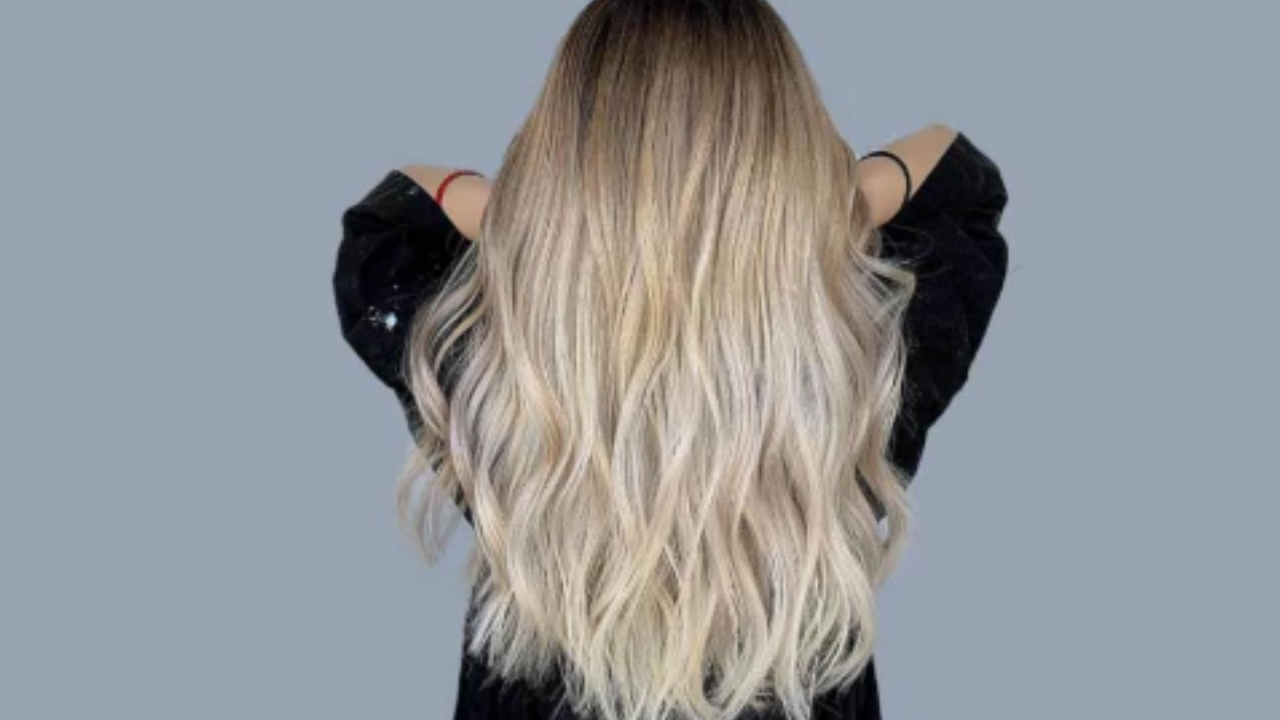
For those looking to improve the length, volume, and general appearance of their natural hair, i-tip hair extensions are a popular and adaptable option. A bead or ring attachment technique is used to apply the I-tip extensions, which have a tiny, I-shaped tip. If u want to get more info about hair extensions go url. This makes it possible to blend in seamlessly and integrate the hair securely and covertly with natural hair.
The main purpose of I-tip extensions is to provide wearers the opportunity to experiment with different hairstyles and textures by creating a stunning yet natural look. I-tip extensions offer a durable and adaptable option for those seeking highlights, voluminous locks, or more length. They are a go-to option for people wishing to improve their hair because of their adaptability, durability, and ability to be styled like natural hair.
Installation of Beaded I-Tip Hair Extensions
The Step-by-Step Instructions for Applying Beaded I-Tip Hair Extensions Are As follows:
Consultation and Preparation
Consult with the client in-depth before placing I-tip hair extensions. To choose the right extensions, consider their desired style, color, and kind of hair. Detangle the extensions and make sure their color matches the client's hair color to prepare them. When applying, make use of high-quality instruments, and give maintenance recommendations for aftercare. A successful and fulfilling I-tip extension experience is ensured by a thorough consultation and meticulous preparation.
Sectioning the Hair
When sectioning hair for I-tip extensions, accuracy should come first. To guarantee a natural blend and a secure bond, make neat, tiny portions. To maintain organization and clarity, separate adjacent portions using hair clips. For I-tip extensions to be integrated seamlessly and improve the overall beauty and durability of the style, careful sectioning is essential.
Selecting and Prepping the Hair Extensions
Select I-tip hair extensions so that the color and texture closely resemble the client's real hair. Gently untangle the extensions and make sure they're clean before applying. Trim the extensions as needed to get the required length and to make them mix in with the client's hair. A smooth and realistic-looking outcome is guaranteed by the careful selection and preparation used.
Threading the Natural Hair
Using a loop tool, thread little strands of your natural hair through the I-tip beads when installing I-tip hair extensions. Take care not to over tighten to guarantee a stable attachment. Small pieces will provide a subtle mix. For an I-tip extension installation to look comfortable and natural, this meticulous threading procedure is essential.
Securing the Extension
Use pliers to firmly clamp the I-tip beads shut after weaving natural hair through them. To guarantee a tight grip without creating discomfort, apply light pressure. Verify that every extension is firmly secured to ensure a smooth integration and avoid any slippage. This procedure guarantees a stable and long-lasting application of the I-tip extension.
Repeating the Process
Every I-tip hair extension should be threaded and secured in the same manner, carefully going over small, well-divided sections of natural hair. For a unified and organic appearance, keep placement uniform and tension constant. This methodical process ensures that the extensions are distributed evenly and securely throughout the hair.
Blending and Styling
Once each I-tip extension is firmly in place, blend in natural hair flawlessly. To get a pleasing finish, trim and form with shears. Style to your taste, avoiding excessive heat. Add gentle, extension-friendly products to retain the mixture and ensure durability. It looks sophisticated and herbaceous thanks to the careful blending and style.
Post-Installation Care Instructions
I-tip hair extension clients should be advised not to wash for 48 hours following application. For following washes, use products free of sulfates. Gently untangle, beginning at the tips. To avoid tangling at night, secure your hair. Restrict the use of heat styling. Make routine maintenance visits to guarantee that extensions stay safe and in good shape.
Final Words
A tiny segment of hair close to the scalp is strung with the bead. After inserting the tip of the hair extension strand into the bead, the bead is flattened and crimped with a specialized hair extension tool to ensure it stays in place. To make the hair and the extensions blend and appear as natural as possible, the stylist cuts and mixes the hair after installation.